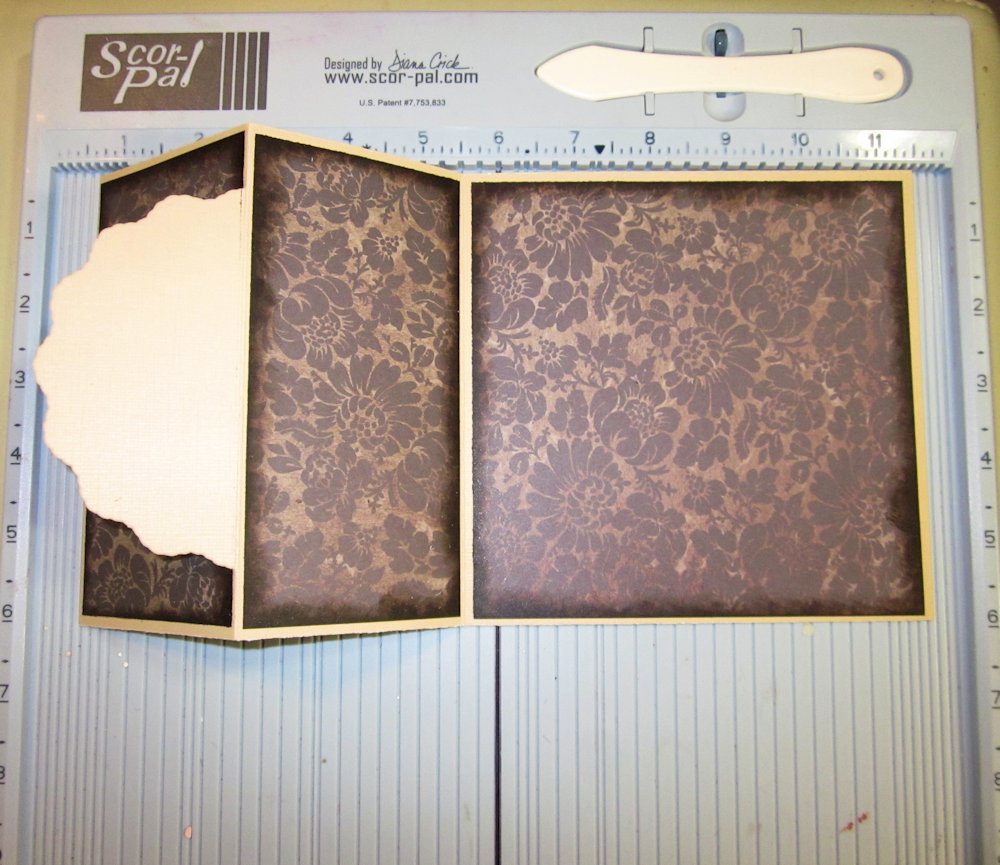
Today I have another card to share with you that highlights the Sunny Day Collection from Heartfelt Creations. While this card looks straight forward, you will find a nice surprise when you untie the ribbon bow.

The front is just a small die cut corner, and opens to reveal a full decorated panel.

Heartfelt Creations Products
Sunny Day Paper Collection HCDP1 230
Decorative Butterfly Corner HCD 730
Posy Patch Die HCD 701
Botanical Oval PreCut Set HCPC 3520
Butterfly Medley PreCut Set HCPC 3519
Antique Essentials PreCut Set HCPC 3516
Posy Patch Flowers PreCut Set HCPC 3303
Robins Nest Dew Drops Lily Pad
Other:
WorldWin Cardstock
Stickles
Copic Markers: Y19; E02; E35; BG32; BG35; YG93; YG95
Words of Whatever - WOW Chipboard
May Arts Ribbon - EA16
Clearsnap Ink- Archival Brown, Saphire Silk Pigment Ink, Blush Rose Chalk
Xyron Mega Runner
Score-Tape
Directions:
Cut a 6 x6 card base, and score the center. Lay the Butterfly corner on the front left corner and trace around the outside. Fussy cut around this leaving only the bottom left corner of cardstock. Cut a 5 3/4" square of patterned paper. Randomly stamp flower stems from the Antique Essentials set across the bottom of the panel using brown archival ink. Color the flowers with glittery paints. Stamp the sentiment as shown, and attach to the card base. Cut the die using patterned paper, and glue to the front. Lay Scor-tape starting on the inside of the card, just to the right of the front panel, wrap around the back, and bring around to the front of the card, stopping at the right margin of the front flap. Add ribbon to the Scor-tape, leaving tails at the intersection of the front flap and the inside panel. Tie in a bow to close the card. Stamp the butterfly with the Brown Archival ink and color with Copics. Fussy cut the image and add to the front flap. Add Stickles over the butterfly and glue to the card with dimensional foam. Stamp and cut with the corresponding die, the Post Patch Flowers and nestle around the butterfly. Add Dew Drops for the the centers of the flowers. Tuck a small chipboard flourish behind the butterfly.