Friday, December 30, 2011

Penny Black/ Flower Soft Blog Hop


We're kicking off 2012 in style with our very first Blog Hop featuring artwork using Penny Black stamps and Flower Soft. You'll be inspired by the Designers' creative projects as you hop along their blogs. Join us for a weekend-long celebration!
PRIZES
3 random comment authors will be chosen to receive brand new 2012 Penny Black Valentine stamps. Just leave a comment on this post as well as the Designers Blogs to be in the running.
GRAND PRIZE
Use one of the Penny Black Designer’s Blog Hop projects as inspiration and create a new Penny Black stamped project. Upload it into our Gallery by the end of the Hop with the tag “pennyblackbloghop”. Be sure to let us know which project inspired you! A winner will be chosen to GUEST DESIGN at the Penny Black Blog!
WINNERS
Winners will be announced on Wednesday, January 4th at the Penny Black Blog.

I have a springy card to share with you today - I know it's wishful thinking, but a girl can dream, can't she?! I love this little bunny from the Garden Friends stamp set - and she was perfect to accessorize with the Flower Soft. This will actually be my last post as a designer for Flower Soft. I've really enjoyed being on the team, and you know I will keep adding those sprinkles to my projects!

Penny Black Garden Friends Stamp
Flower Soft Colors:
Polar White
Sunshine Yellow
Marigold
Amethyst Diamond Range
Ultra-fine Sage
Ultra-fine Ocean


Happy New Year! Here’s your blog hop order, off you go!
Penny Black
Jen Buck, Flower Soft
Jenyfur Pohl, Penny Black
http://torn-paper.blogspot.com/
Lisa Murphy, Flower Soft
Kathy Racoosin, Penny Black
http://thedailymarker.blogspot.com/
Jeanne Streiff, Flower Soft
Elizabeth Allan, Penny Black
http://elizabethallan-blog.blogspot.com/
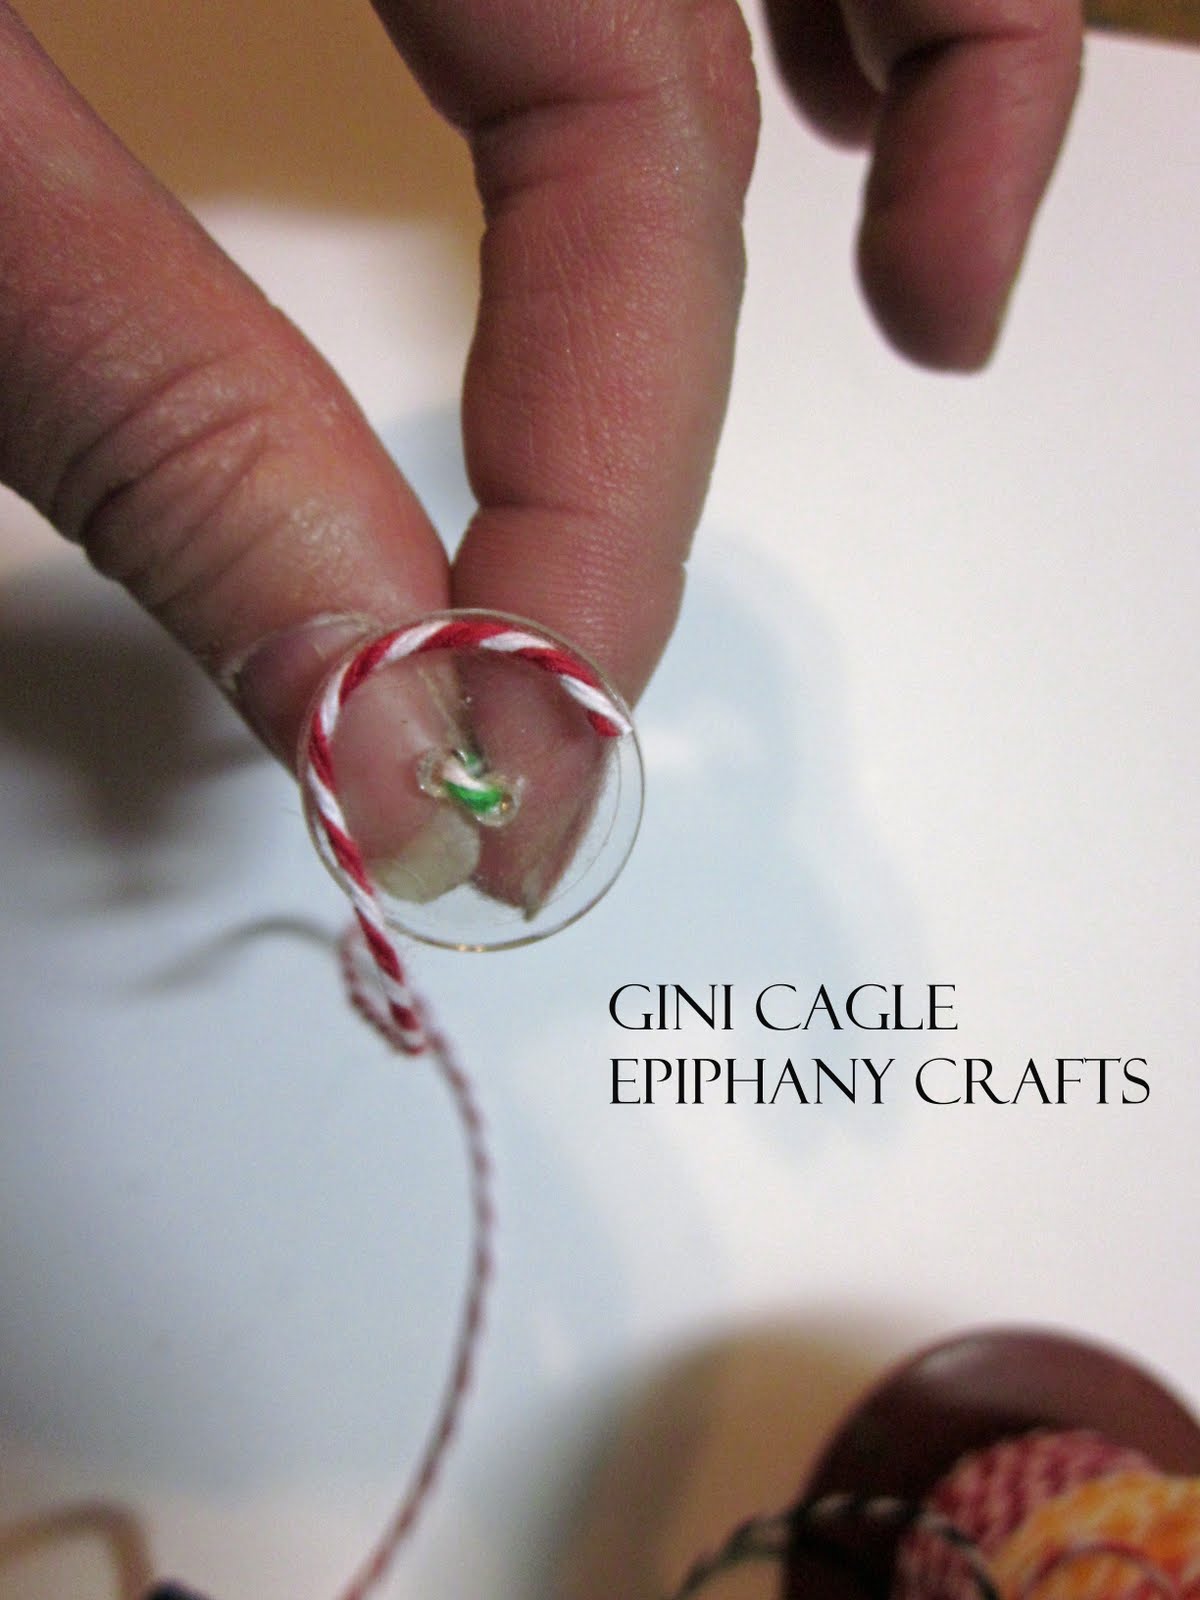
Gini Cagle, Flower Soft (You are Here)
Linda Beeson, Flower Soft
Kelley Eubanks, Penny Black
http://myfrontporch-kelley.blogspot.com/
Debbie Seyer, Flower Soft
Cathy Andronicou, Penny Black
http://candronicoucardcraft.blogspot.com/
Dina Kowal, Flower Soft
Peet Roeven, Penny Black
http://scrapalbum.blogspot.com/
Cibele Glazer, Flower Soft
Flower Soft

Thursday, December 29, 2011

WOW!


Link

WOW! Not only do I have some WOW! Exciting news for you, but it actually is WOW! That's right - the name of Suzy West's new product line is WOW! and I've been invited to be one of her designers! The line will be previewing at CHA and I will have projects in the booth to show you just how fabulous this new line is!

Our new blog http://www.wowembossingpowders.blogspot.com/ just went live, so you need to head over and join, because, I've heard rumors there are going to be some great giveaways, that you won't want to miss!http://www.wowembossingpowders.blogspot.com/

Tuesday, December 27, 2011

Time to Relax


Wow! What a whirlwind this Christmas has been! I know the holidays aren't quite over yet, but this year is quickly winding down, and the perfect time to kick back and relax! I hope today's card will inspire you to do the same!


Creative Inspirations Paints
Fuchsia
Ivory
Antique Copper
Burnt Clay
Blush
Beige

Kanban Products
Vintage Tags Ruby PCT 9113
Stamp 9038
Metallic Glaze Sorento - Coffee Brown CRD9741
Pearl A4PRL240IV
Copper A4MRS/CO

Creative Paperclay and Viva Las Vegastamps!


Link
This month, Creative Paperclay® Modeling Material has had the chance to play with Viva Las Vegastamps! When I was picking out my stamps, I had a mixed media piece in mind, with a chicken theme. I have to admit, it just didn't turn out how I planned, so I made a fun card with my own egg embellishments.

I used the Children with Cat and Chickens stamp. I love how it looks like a vintage photo, but it really is a stamp! To make my eggs, I rolled out some Delight™ Air Dry Modeling Compound into an egg shape, let it dry a little bit, and then, sliced the back off so it would lie flat on my card.
I colored the eggs with Distress Stains, and after that was dry, covered them with Sakura Crystal Lacquer. These eggs could be really fun for your spring and Easter projects too! The Delight™ really is a delight to work with - it's very light weight, snow white and clean to mold. I love working with it!

I think it's cool when one idea doesn't work out the way that you think it will, but it leads you to something new on your creative journey.

Sunday, December 25, 2011

Thank You Gnome


Merry Christmas! I hope you are getting to spend time with your family and loved ones! I have a thank you card to share with you today. I know I will have lots of thank-yous to send out, so this will get me started!

I used the adorable Mr. Gnome die, Mushroom and Flowers die, and Flowervine Edger dies from CottageCutz. This little gnome is just so cute, he makes me smile!


Monday, December 19, 2011

Crafty Secrets Home Decor


The Crafty Secret Girls have been sharing with you some ideas this month using our new CD #2. I've made a kitchen shadowbox, and used it to highlight an old spoon that I painted shabby white. I added vintage buttons around the frame for more interest. The red paper on the interior of the frame is one of the black and white PNG images , simply printed on the paper color of choice.
Please be sure to check out the Crafty Secrets Blog for more inspiration!

Saturday, December 17, 2011

Scor-Pal and Authentique Paper Hop


Welcome to the Scor-Pal and Authentique Paper Blog Hop! You should have arrived from Emily Lanham's blog, if not you may want to go back and start at the Authentique Blog, so you don't miss anything. The Scor-Pal designers were lucky enough to get to work with the Splendid Collection. It really is beautiful. I created this Card Pouch from a template at Splitcoast Stampers.


Here you can see the pouch open with the cards inside. This would make a wonderful last minute gift (which also happens to be the challenge theme this month at Scor-pal, if you would like to play along!) Using the Scor-pal and Scor-tape, this holder is really quite easy to put together.


Here's the pouch with some of the cards out of the box.

It's time to hop on to Misty Buck's blog, but before you go, don't forget to leave a comment, for your chance to win a paper package from Authentique or a Scor-Buddy from Scor-pal. Blog comments will close on Monday, December 19th at 11:59 pm (Pacific Time). Winners must have a Canadian/USA address. Winners will be announced on Wednesday, December 21 on the Scor-Pal and Authentique Blogs.


Blog Hop Order:


Authentique Paper – http://authentiquepaper.blogspot.com/

Tifany DeGough - http://inkblotsbytrd.blogspot.com/

Steph Ackerman - http://www.stephaniescraps.blogspot.com/

Emily Lanham - http://createserendipity.blogspot.com/

Gini Cagle - http://www.ginicagle.blogspot.com/

Misty Buck - http://mistylynnwhat.blogspot.com/

Lisa Andrews - http://www.scrappingwithlisa.blogspot.com/

Brenda Smith - http://theimperfectscrapper.blogspot.com/

Katie Tate - http://bothsidesofthepaper.blogspot.com/

Cristine Redmond - http://onescrappynovice.blogspot.com/

Kittie Franken - http://kittyfranken.blogspot.com/

Scor-Pal – http://scor-pal.blogspot.com/


Window Shopping Tag


Well, I haven't played all 12 days of tags from Tim Holtz, but I'm having fun trying to get as many done as I can. This is my version of Day 10 (although the only thing that is similar to mine and Tim's is the Santa charm that I made). I love the Graphic 45 Christmas Emporium
paper, and as I was looking thought it, saw this adorable scene that inspired my tag. The Graphic 45 paper pads always have two pages of each design, so I was able to fussy cut my window shoppers and pop them up from the base. I used several Tim Holtz dies for this tag - Tag and Book plates die for the base, Typeset Alphabet for my "Window Shopping" words, and Vintage Lace die for my accents. I cut these all using my Vagabond machine (which is a fantastic machine). The bling is some of Want2Scrap's gorgeous line that coordinates with Spellbinders dies (or you can use them alone like I did here). My small tag was from Canvas Corp, and I inked it up with some Peeled Paint Distress Ink. Maybe if I keep making tags, I can actually get my presents wrapped for Christmas!

Challenges:

Tim Holtz: Tag 10Link

Friday, December 16, 2011

Creative Inspirations Holiday Hop

Christmas is almost here! Are you ready? If not, maybe you will get a few last minute ideas from the Creative Inspirations Design Team. If you are one of those highly organized individuals who has been ready for months, than maybe we will inspire you to create something for next year!


I took some inspiration from Tim Holtz 12 Days of Tags - but of course, had to change things up a bit using Creative Inspirations Paint. I stamped and embossed my tag, and then, painted over the images with Rustic Red, and the wiped the excess off of my embossing with a paper towel. Next, I covered the entire tag with clear embossing powder and heat set it. For the holly and poinsettia, I painted Worldwin Vellum with Garnet and Emerald. After the paint was dry, I cut the shapes with dies, creased the paper a little and added them to the tag. I made a custom charm using Epiphany Crafts Shape Studio Tool Round 14, the Shape Studio Accessories Bubble Caps Round 14 , and the Metal Charms Round 14.


Creative Inspirations Paint
Barb
Carla
Carole
Dawn
Gini
Kassi
Kendra
Kianel
Creative Inspirations Paint

Now, your letter that you need to collect from me is M. So, you are ready to hop on to Kassi's blog!


Challenges:
Tim Holtz Tags: Day 9

Thursday, December 15, 2011

Flying By To Say Hi


I think I have been making Christmas projects since August - so I decided I needed a little break from the Holiday festivities! So I've got a card that is a little bit more spring inspired! I love the layering of the dies and patterns - I just think it makes for a fun card!

CottageCutz Dies
Bird With Flowers
Ornate Circle Frame
Leafy Foliage
Scallop Three Edger
Eyelet Edger

Other
October Afternoon Papers
Inspired By Stamping The Sky's the Limit stamp set
Want2Scrap Pearls
Worldwin Papers Cardstock


Challenges:LinkCard Patterns: sketch

Frosty Tag


I've been trying to sneak in the 12 Days of Tags with Tim Holtz - so for my last post for the Robin's Nest, I was able to take on Tim's Day 4 challenge! I changed things up a bit, though, so I could use some sparkly Robin's Nest Papers.

Did you know that the glittered areas on Robin's Nest papers act as a wonderful resist? My snowman was cut out of White Snow Glitter Cardstock, but then I used Distress Stain in Broken China to change the color and to really highlight the designs. Next, I painted over the image with Rock Candy Crackle Paint. After it was dry, I rubbed Faded Jeans Distress Ink into the cracks. I think this was a fun change for the tag!


I've enjoyed being on the DT for the Robin's Nest for the past six months and although I didn't reapply for a second term, I know the ladies staying on will continue to inspire you, and the new crew as well! Thanks for your generosity throughout my time with you!
Link
Robin's Nest Products
White Snow Glitter Cardstock
Creme Awning Silver Glitter
Chipboard Snowflakes
Velvet Ribbon

Challenges:
Tim Holtz tags: Day 4

Sunday, December 11, 2011

So Sweet with Crate and Epiphany Crafts

Crate Paper's Peppermint Collection is just fabulous! The papers can be used boldly or can be used soft and shabby as in this card.

Areas of snow were highlighted using Crystal Art Glitter.

Products
Crate Paper Peppermint Collection Superior Quality Chipboard
Crate Paper Peppermint Collection Patterned PapersLinkCrate Paper Peppermint Collection Superior Quality Trims
Crate Paper Peppermint Collection Border Stickers
Epiphany Crafts Shape Studio Tool Round 14
Epiphany Crafts Shape Studio Accessories Bubble Caps Round 14
Epiphany Crafts Vintage Settings Tea Room
Art Glitter Crystal Ultrafine Transparent Glitter
Sizzix Embossing Folder Leaves and Diamonds
Want2Scrap Pearls
Scrapbook Adhesives 3D Foam Squares
Scrapbook Adhesives MyStik Repositionable


Challenges:
Simon Says: Christmas Photo Inspiration

Saturday, December 10, 2011

Inspired By Stamping - December Release is Here!

Today is the big day - you can now order The Sky's the Limit from Inspired by Stamping! I hope you've enjoyed the projects that the DT has shared for the past two days - and now that we can show the whole set, we've got one more day to play with it!


The canvas was first painted with Creative Inspirations Paint (Sea Foam). After this was completely dry, a second layer of paint was dabbed on with a foam sponge( Tanzanite). The balloons were stamped over this layer using Staz-on Ink. Next a coat of Fairy Dust paint was spread over the entire surface, and immediately sprinkled with UTEE( Ultra Thick Embossing Enamel) - and melted with a heat gun. This process was repeated a second time to create more texture. The clouds were stamped on vellum, cut out and glued on with Sakura Crystal lacquer. The dark blue paint ( Aqua Marine) was spread over the bottom portion of the canvas, and the excess was wiped away with a paper towel. The balloons were stamped, embossed, cut and adhered with foam dots. This piece has so much texture in person.


Thanks so much for stopping by, and be sure to check out what the rest of the team has come up with!


Amber Goble
Deb Hickman
Debbie Marcinkiewicz
Gini Cagle (me)
Irit Shalom
Jennie Garcia
Joanna Munster
Kassi Hulet
Kendra Sand
Kim Score
Lesley Croghan
Susie Moore

Epiphany Crafts and Crate Paper

It's always fun to use Epiphany Crafts products in new ways. Try using twine instead of paper to make a festive peppermint candy button.


Remove the paper backing from a Button Round 20 Epoxy. Use a pin to "open" the button holes and thread twine through the two holes. Use this green twine as a handle to hold the button, as you start wrapping red twine from the outside in. Clip the red twine when you reach the center. The adhesive on the back of the epoxy makes this technique so easy - with no mess!


Tie a small bow with the remaining green twine.


Use 3D Foam Squares to attach the candy to your project.


The MyStik adhesive dispenser by Scrapbook Adhesives is the perfect take-along for crops. Not only can you use it with various refills, but you can customize it, so it doesn't get mixed up with anyone else.


Epiphany Crafts Button Studio Accessories Buttons Round 20
Scrapbook Adhesives 3D Foam Squares
Scrapbook Adhesives MyStik Repositionable
Crate Paper Peppermint Collection Superior Quality Trims
Crate Paper Peppermint Collection Border Stickers
Crate Paper Peppermint Collection Alpha Labels
Crate Paper Peppermint Collection Superior Quality Chipboard
Crate Paper Peppermint Collection Paper Collection
The Twinery Baker's Twine

Challenges:
Mojo Monday: Sketch

Friday, December 9, 2011

Inspired By Stamping - December Release Day Two Preview


It's the second day of previews for this months stamp release from Inspired by Stamping! I'm sure you were inspired by all of the great projects you saw yesterday, and we hope you enjoy today just as much.

My project for today is a card - and I love how it turned out! This is such a fun set to layer and paper piece.

We'll be showing you the entire set on Saturday, but be sure to check out what the rest of the team created. And you will want to make sure to stop by the Inspired by Stamping Blog for a chance to win this set before you can buy it!

Friends With Flair Friday Hop


It's tag time!! And today I've got a tag to share with you that I made using Unity/Samantha Walker's Greetings of Christmas stamp set. I made my tree background with gold peel sticker from Sparkraft Enterprises and filled it in with Green Pearl Crystal Lacquer.
I love the dimension that it created.

Thanks for stopping by!

Challenges:
Unity Friend with Flair
Simon Says: Photo inspiration
Tim's 12 Days of Tags: Day 2

Thursday, December 8, 2011

Inspired By Stamping - December Release Day One Preview


It's the first day of previews for this months stamp release from Inspired by Stamping! I think you are really going to enjoy this set, which is called The Sky's the Limit.

I've been seeing all kinds of fun, altered sewing spools, and when I saw these stamps, I thought this would be the perfect time to try my hand. I did sneak in a stamp from the Delicate Doilies set for the top of my spool - but the others are from the new release.

We'll be showing you the entire set on Saturday, but be sure to check out what the rest of the team created today and tomorrow! And you will want to make sure to stop by the Inspired by Stamping Blog for a chance to win this set before you can buy it!

Wednesday, December 7, 2011

Scor-Pal and Jillibean Soup - Yum Yum


This week the Scor-pal Designers are excited to be sharing some last minute gift ideas using product from our friends at Jillibean Soup.

You'll want to stop by each the Scor-pal blog day this week for new ideas and to leave a comment. Next Monday we will choose one random comment from the week to win a Scor-buddy. Which is perfect for creating last minute gifts or given as a gift for the special crafter in your life.

Also, be sure and stop by the Scor-pal Fan Page and leave a comment too because we will be giving away a Scor-Tape prize pack over there to someone who left a comment both there *and* on the blog. Because, after all, when you are making special gifts you want them to stay together and you want the best ;)

Of course, be sure and stop by the Jillibean Soup Blog too because they are playing along with Scor-pal this week as well!


Are you one of those people that shake your boxes at Christmastime to try and figure out what is inside? Well here is a little box that I made with my Scor-Pal and Jillibean Soup's Christmas Eve Chowder line, that might just surprise you!


It's called a Secret Box and I found the tutorial at Splitcoast Stampers.


It looks like a cute little cube, until you open it and ...


There are secret drawers waiting to be filled with little treasures!


Using my Scor-Pal and Scor-tape not only made this a breeze to make, but it really made it quite sturdy. I honestly can't imagine trying to put together any type of box and not using my Scor-tape for the strength and ease. And the papers from Jillibean Soup were just adorable ! I fussy cut the penguins and let them decorate each of the panels. I also added a little bling from Want2Scrap - love the variety that they have!

I hope this gives you an idea for a fun and easy last minute gift!